Table of Contents (10 sections)
Experience the transformative journey of creating stunning watercolor paintings by mastering essential techniques. This step-by-step tutorial guides you through the nuances of watercolor techniques, helping you elevate your skills at each phase.
Table of Contents
- Introduction to Watercolor Art
- Essential Watercolor Supplies
- Technique 1: Wet-on-Wet Painting
- Technique 2: Wet-on-Dry Painting
- Technique 3: Glazing
- Technique 4: Lifting and Blotting
- Technique 5: Dry Brush
- Technique 6: Color Mixing Essentials
- Technique 7: Creating Textures
- 📺 Resource Video
- FAQ
- Glossary
- Checklist
Introduction to Watercolor Art
Watercolors are known for their fluidity and translucence, making them a favorite medium among artists. But they can be challenging to master due to their unpredictable nature. Watercolor painting is all about controlling the flow of the paint and understanding how it interacts with water.
In recent years, watercolor has seen a resurgence, with artists exploring its potential online and offline, creating artwork that exhibits an impressive array of vibrant colors and delicate details. Mastering these techniques allows artists to express their creativity and bring their artistic visions to life.
Essential Watercolor Supplies
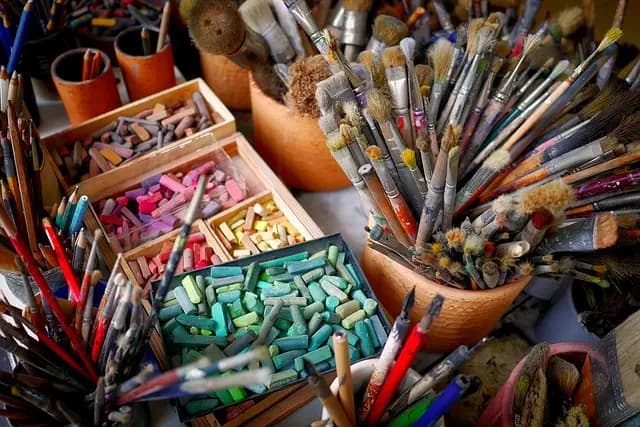
Before diving into the techniques, you must have the right supplies. Quality materials can significantly impact the result. Here are the essentials:
- Watercolor Paints: Look for professional-grade brands for richer pigments.
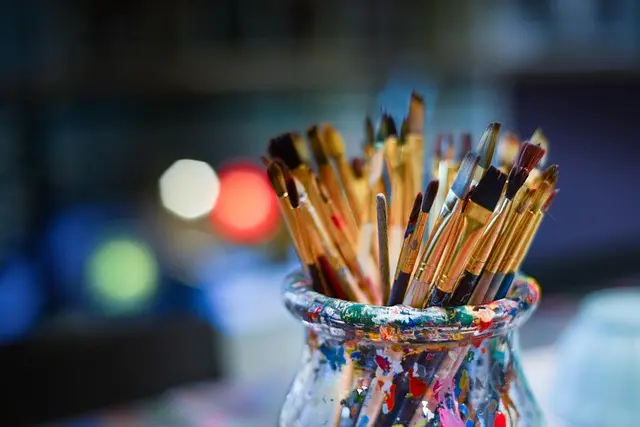
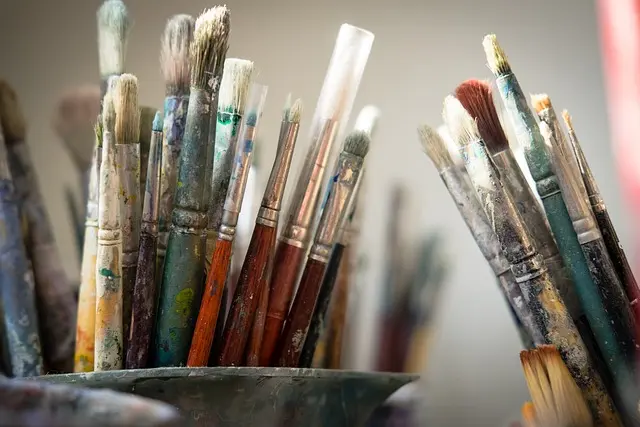
- Brushes: A variety of rounds and flats will offer versatility.
- Watercolor Paper: Opt for a minimum of 140lb to prevent warping.
- Palette: Use one with multiple wells for mixing.
- Water Containers: Two jars, one for cleaning and one for fresh water.
- Masking Tape: To secure your paper and create clean edges.
Technique 1: Wet-on-Wet Painting
This technique involves applying wet paint onto wet paper. It creates soft, diffused colors that blend seamlessly. Start by wetting the paper evenly. Then, introduce your chosen colors, letting them bleed into each other naturally.
Pro Tip: Use this technique for painting skies or underwater scenes, where you want colors to merge effortlessly. Avoid overworking the area, as too much manipulation can turn colors muddy.
Technique 2: Wet-on-Dry Painting
In contrast, wet-on-dry painting involves applying wet paint onto dry paper. This technique is ideal for more defined shapes and sharp edges. It’s perfect for creating detailed forms and layered works.
Application: Use for painting subjects like flowers or buildings where precision is required. Common Mistake: Avoid using too much water when applying, as it can blur the edges, defeating the purpose of the technique.
Technique 3: Glazing
Glazing is the process of applying a thin, transparent layer of paint over a dry layer of another color. It changes the tone and appearance of your work without covering up the original paint.
Example: Use a gentle glaze to create depth in skin tones or build atmospheric shadows. Reminder: Ensure the previous layer is completely dry to avoid accidentally lifting paint.
📺 Resource Video
> 📺 To go further: Watercolor Techniques for Beginners, a comprehensive analysis of watercolor painting methods. Search on YouTube: "watercolor techniques tutorial 2026".
- What is the best brush size for beginners?
A range of sizes, from small rounds to larger flats, provides versatility for beginners.
- How can I prevent watercolor paper from warping?
Use 140lb paper minimum and secure it with masking tape to prevent warping.
- Can I mix different brands of watercolor paint?
Yes, mixing brands is possible, but stick to professional-grade for consistency.
- How do I fix mistakes in watercolor painting?
Use lifting techniques by blotting with a sponge or paper towel while wet.
Glossary
| Term | Definition |
|---|---|
| Glazing | A technique for adding transparent layers |
| Wet-on-Wet | Applying wet paint on wet paper |
| Dry Brush | Using minimal water for texture and detail |
Checklist
- [ ] Gather essential watercolor supplies
- [ ] Experiment with wet-on-wet techniques
- [ ] Practice wet-on-dry for details
- [ ] Apply glazing for added depth
- [ ] Try lifting techniques for corrections
✔️ Ready to unleash your creativity? Embrace these watercolor techniques and let your artistic prowess flow onto the canvas.