Table of Contents (9 sections)
Creating an artistic haven requires not just passion but also a well-planned setup. An art studio is not just a space; it’s a sanctuary where creativity flows, experiments occur, and masterpieces come to life. In this guide, we will go through the essential steps to set up a functional and inspiring art studio tailored to your individual needs.
Step 1: Define Your Artistic Goals
Before you start gathering supplies or choosing a location, it’s vital to define your artistic goals. Ask yourself: What kind of art do I want to create? Will I be focusing on painting, sculpture, photography, or mixed media? Knowing your artistic direction will influence your space requirements, storage needs, and equipment.
For example, if you're a painter, you may need a well-lit area with flat surfaces for canvases and a clean spot for paint mixing. Conversely, a sculptor might require more space to accommodate tools and large pieces. By clearly outlining your objectives, you can make informed choices throughout your studio setup journey.
Step 2: Choosing the Right Location
The location of your art studio significantly impacts your workflow. Ideally, you want a space that offers natural light, ventilation, and inspiration. Basement, attic, or even a spare room can be great options, but consider accessibility to ensure you can work comfortably.
Additionally, check your community's regulations. Some areas have restrictions regarding noise or chemical use for art supplies. Understanding these rules will help you avoid future interruptions or legal troubles as you grow your artistic practice. Measure the space carefully to ensure you have adequate room for your needs, and always have a backup location in mind.
Step 3: Layout and Design of the Studio
Once you have selected your location, it's time to focus on the layout of your studio. An effective design not only maximizes space but also enhances creativity. Consider using a zoning approach where you have defined areas for different activities, such as:
- Workspace: Allocate a specific area for your main art activities such as painting or drawing.
- Storage: Create efficient storage solutions for your supplies. Use shelves, cabinets, or portable carts for easy access.
- Display zone: Have a space to display finished works, which can serve as both motivation and a means to evaluate your progress.
Ensure your design allows freedom of movement. Clutter can stifle creativity, so keep pathways clear and maintain a clean workspace by regularly organizing your materials.
Step 4: Essential Equipment and Supplies
With the layout in mind, it’s crucial to stock your studio with the right tools and supplies. The essential items may vary based on your focus, but common must-haves include:
- Worktable: A sturdy and spacious table for creating.
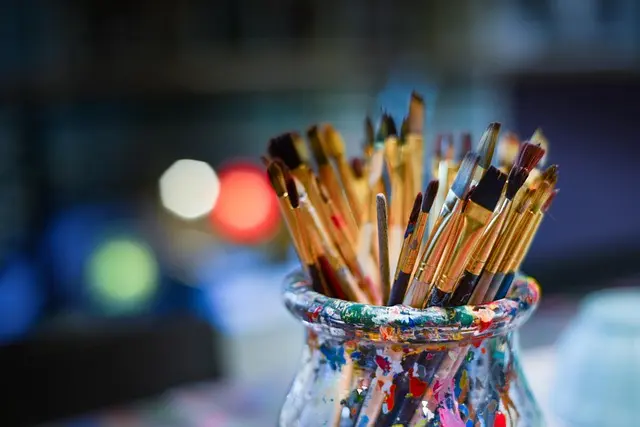
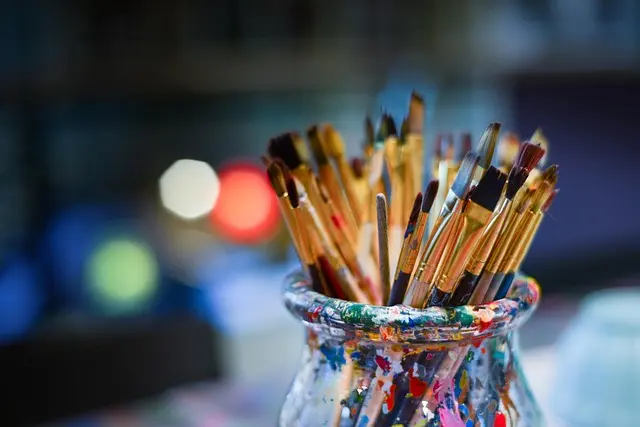
- Storage solutions: Containers for paint, brushes, and other supplies.
- Lighting: Both natural light and artificial lights are necessary. Consider adjustable LED lights or daylight bulbs that mimic sunlight.
- Safety gear: Masks, gloves, and eye protection for handling various materials safely.
Don’t forget to personalize your space with items that inspire you, such as artwork by other artists, plants, or mood boards. These elements can contribute to a stimulating and supportive environment for your creativity.
Step 5: Establish a Routine and Keep It Inspiring
Once everything is set up, establish a consistent routine to maximize your productivity. Designate specific times for your art practice, and hold yourself accountable by setting goals.
Engage in creative rituals that signal your brain it’s time to work. This could involve playing your favorite music, lighting a scented candle, or even a short meditation to clear your mind.
Additionally, keep your environment stimulating. Rotate art displayed, refresh supplies regularly, and continue exploring new techniques. Engaging with your artistic community—whether online or locally—can also provide support and new ideas to fuel your creative journeys.
Step 6: Review and Reflect
Regularly reviewing your art studio setup can help identify areas for improvement or adjustments. After you've spent some time creating, reflect on what works well and what doesn’t.
Consider keeping a journal documenting your processes. This can also help track your artistic growth and inspire future projects. Don’t hesitate to make changes as your needs evolve over time, whether that means reorganizing supplies or revamping your workspace completely.
Checklist for Setting Up Your Art Studio
- [ ] Define your artistic goals.
- [ ] Choose an appropriate location.
- [ ] Design your studio layout.
- [ ] Acquire essential equipment and supplies.
- [ ] Establish a creative routine.
- [ ] Regularly review and adjust your setup.
Glossary
| Term | Definition |
|---|---|
| Art Supplies | Materials used in the creation of art, including paints, brushes, and canvases. |
| Workspace | The area where an artist creates and develops their artwork. |
| Zoning | A design approach separating spaces for distinct activities within a studio. |
> 🧠 Quiz rapide: What is the most crucial factor when setting up an art studio?
> - A) The amount of space
> - B) The type of art to be created
> - C) The cost of supplies
> Réponse : B — Knowing the type of art you want to create will significantly influence your studio setup.
📺 Pour aller plus loin: Discover essential tips on setting up your perfect studio, one where creativity knows no bounds. Search on YouTube: "art studio setup tips 2026".
📺 Pour aller plus loin : art studio setup tips 2026 sur YouTube
Recommended products
Selected by our experts


Visual Comfort Studio Barn Light 1-Light Outdoor Wall in Textured Black
patioliving.com


Old Navy Maternity Full Panel StudioSmooth 7/8 Leggings Dusk Bloom XXL
oldnavy.gap.com