Table of Contents (16 sections)
Understanding 3D Art Techniques
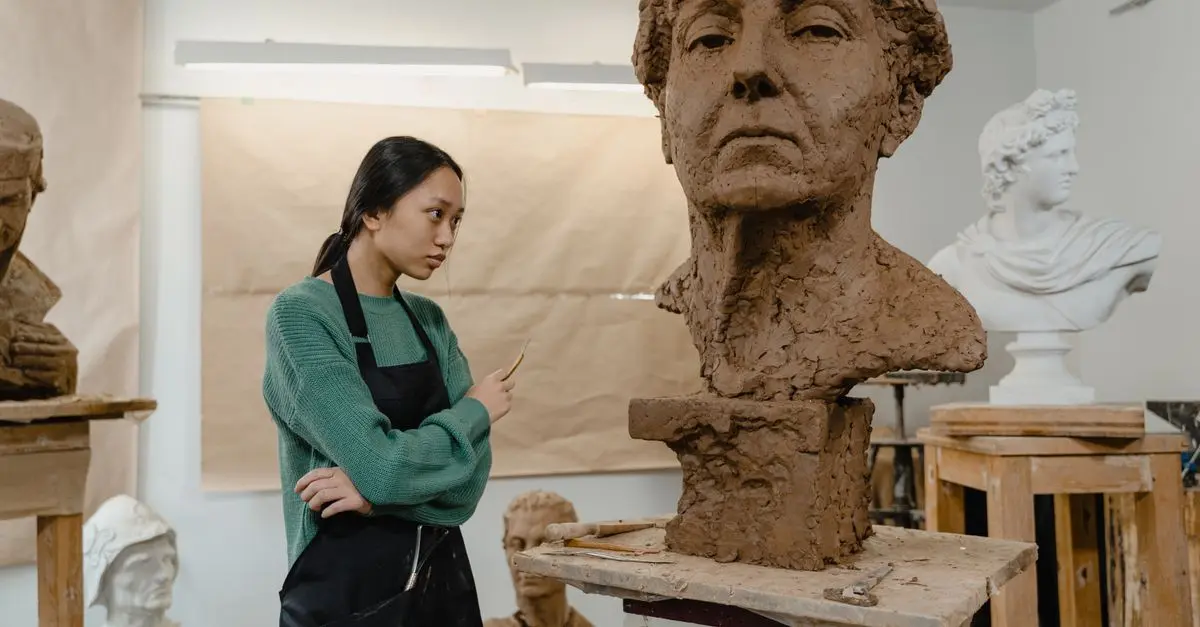
The world of 3D art involves styles and techniques that transform flat surfaces into expansive, textured masterpieces. As artists, we strive to create visual depth that draws audiences in, providing an immersive experience that a flat image cannot. According to Wikipedia, 3D art incorporates techniques like sculpting, modeling, and texturing, which reflect the artist’s perspective, adding a new layer of realism or abstraction to their work.
Historically, 3D techniques gained momentum with the Renaissance, influencing countless artists. They emphasized lighting, shading, and perspective — critical elements that bring artwork to life today. In 2026, contemporary techniques such as digital sculpting and mixed media are evolving this art form further. With 3D printing and virtual reality gaining traction, the potential for creating nuanced, layered pieces continues to expand.
Materials and Tools Preparation
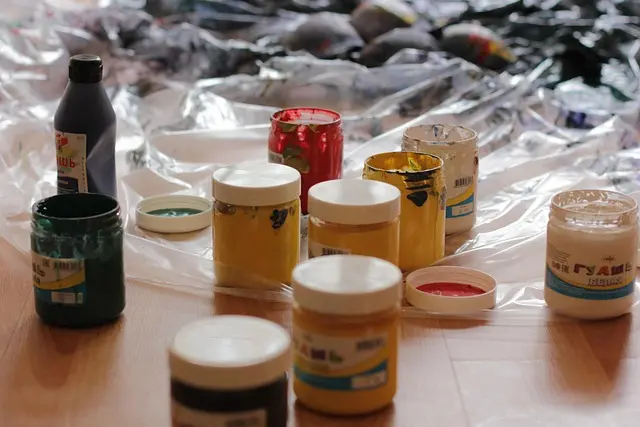
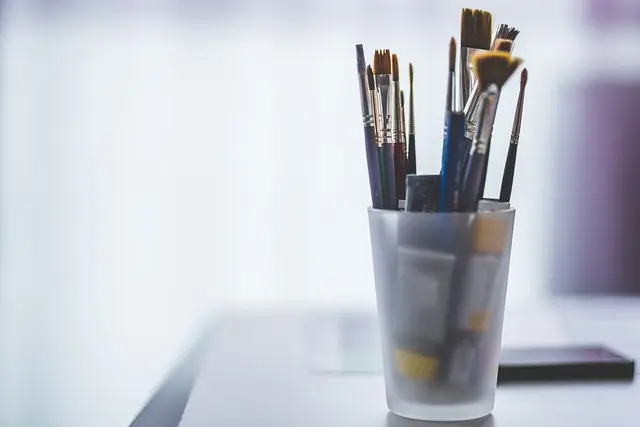
Before delving into 3D art techniques, gather the necessary materials. Traditional sculpting might require clay, wax, or stone, while modern approaches may utilize brands like Wacom for digital tools. An artist's toolkit should include sculpting tools and digital software such as Blender or ZBrush for those venturing into digital artistry.
Each material presents unique benefits and challenges. For example, clay allows for tactile manipulation, whereas digital tools afford precision and replicability. Beginners often make the mistake of undervaluing the role of quality tools — investing in durable, high-quality instruments will enhance detail and longevity of your work. Remember, the choice between traditional and digital is not exclusive; many artists today blend both to enrich their craftsmanship.
Mastering Basic 3D Techniques
Step 1: Sketching Your Vision
Begin with a clear sketch of your envisioned creation. This blueprint will guide each subsequent step. As they often say, failing to plan is planning to fail. A detailed sketch helps foresee any potential challenges and streamline the creation process.
Step 2: Shaping and Structuring
Whether working with clay or pixels, your initial shape sets the foundation. Avoid common errors such as neglecting proportions or symmetry, both crucial in achieving a visually balanced piece. Tutorials on platforms like YouTube offer walkthroughs on maintaining structural consistency(Source: YouTube).
💡 Avis d'expert : “The base shape is your cornerstone. Spend time perfecting this, as it holds the weight of your entire artwork.”
Layering and Texture Manipulation
Step 3: Applying Depth and Texture
The key to realistic 3D art lies in layering. Early attempts often appear flat due to inadequate texture layering. Start by building subtle textures, gradually increasing contrast and complexity. Digital artists might use texture brushes to simulate real-world effects; sculptors can achieve this with physically altered surfaces.
Step 4: Color and Shading
Color profoundly impacts depth perception. Implement a color palette that complements your piece, applying shading to mimic natural lighting. The aim is to create a harmonious interplay between shadow and light, which adds life to your work. Mistakes to avoid include overusing contrast, which can look overdone and detract from the overall piece.
Polishing Your Work
Step 5: Finishing Touches
Once the primary work is complete, step back and review your sculpture. Use tools such as smoothing brushes or digital functions like Gaussian blur in software to refine and polish. This final stage highlights artistry precision.
“Détails make the piece,” said many artists, emphasizing the significance of meticulous detailing. This stage is where your style imprints itself on the artwork, transforming technical skill into a personal masterpiece.
📺 Ressource Vidéo
> 📺 Pour aller plus loin : “Understanding 3D Sculpting Tools in 2026”, explore detailed techniques and tools on platforms like YouTube. Search for: “3D sculpting techniques 2026”.
Comparative Analysis of Materials
| Material | Traditional Use | Durability | Cost | Pros & Cons |
|---|---|---|---|---|
| Clay | Sculpting | Medium | Low | Pro: Tactile, Con: Fragile |
| Wax | Sculpting | Low | Low | Pro: Flexible, Con: Melts |
| Digital | Virtual Art | High | High | Pro: Editable, Con: Complex |
| Stone | Sculpting | High | High | Pro: Durable, Con: Heavy |
FAQ on 3D Art Techniques
- What is the best tool for beginners in 3D art?
Most beginners start with clay or digital apps like ZBrush due to their accessibility and tutorial availability.
- How can I achieve better texture in my 3D art?
Focus on gradual layering and shading. Experiment with different tools and techniques to refine texture.
- Is digital art superior to traditional methods?
Neither is superior. Each serves different purposes and offers unique benefits.
- How do 3D artists price their work?
Pricing is influenced by material costs, time investment, and the artist's experience level.
Checklist Before You Begin
- [ ] Sketch your design before starting.
- [ ] Gather all necessary tools and materials.
- [ ] Decide between traditional or digital approaches.
- [ ] Watch tutorials on technique application.
- [ ] Review and refine your work post-creation.
Glossaire
| Terme | Définition |
|---|---|
| Proportion | Relative size of elements in an artwork, crucial for balance and harmony. |
| Texture | Surface quality that can be seen and felt, adding depth and realism to the art. |
| Shading | Technique used to depict light and shadow, enhancing three-dimensional effects. |
> 🧠 Quiz rapide : What technique adds the most depth to 3D art?
> - A) Color
> - B) Texture
> - C) Shape
> Réponse : B — Texture enhances visual depth most effectively.